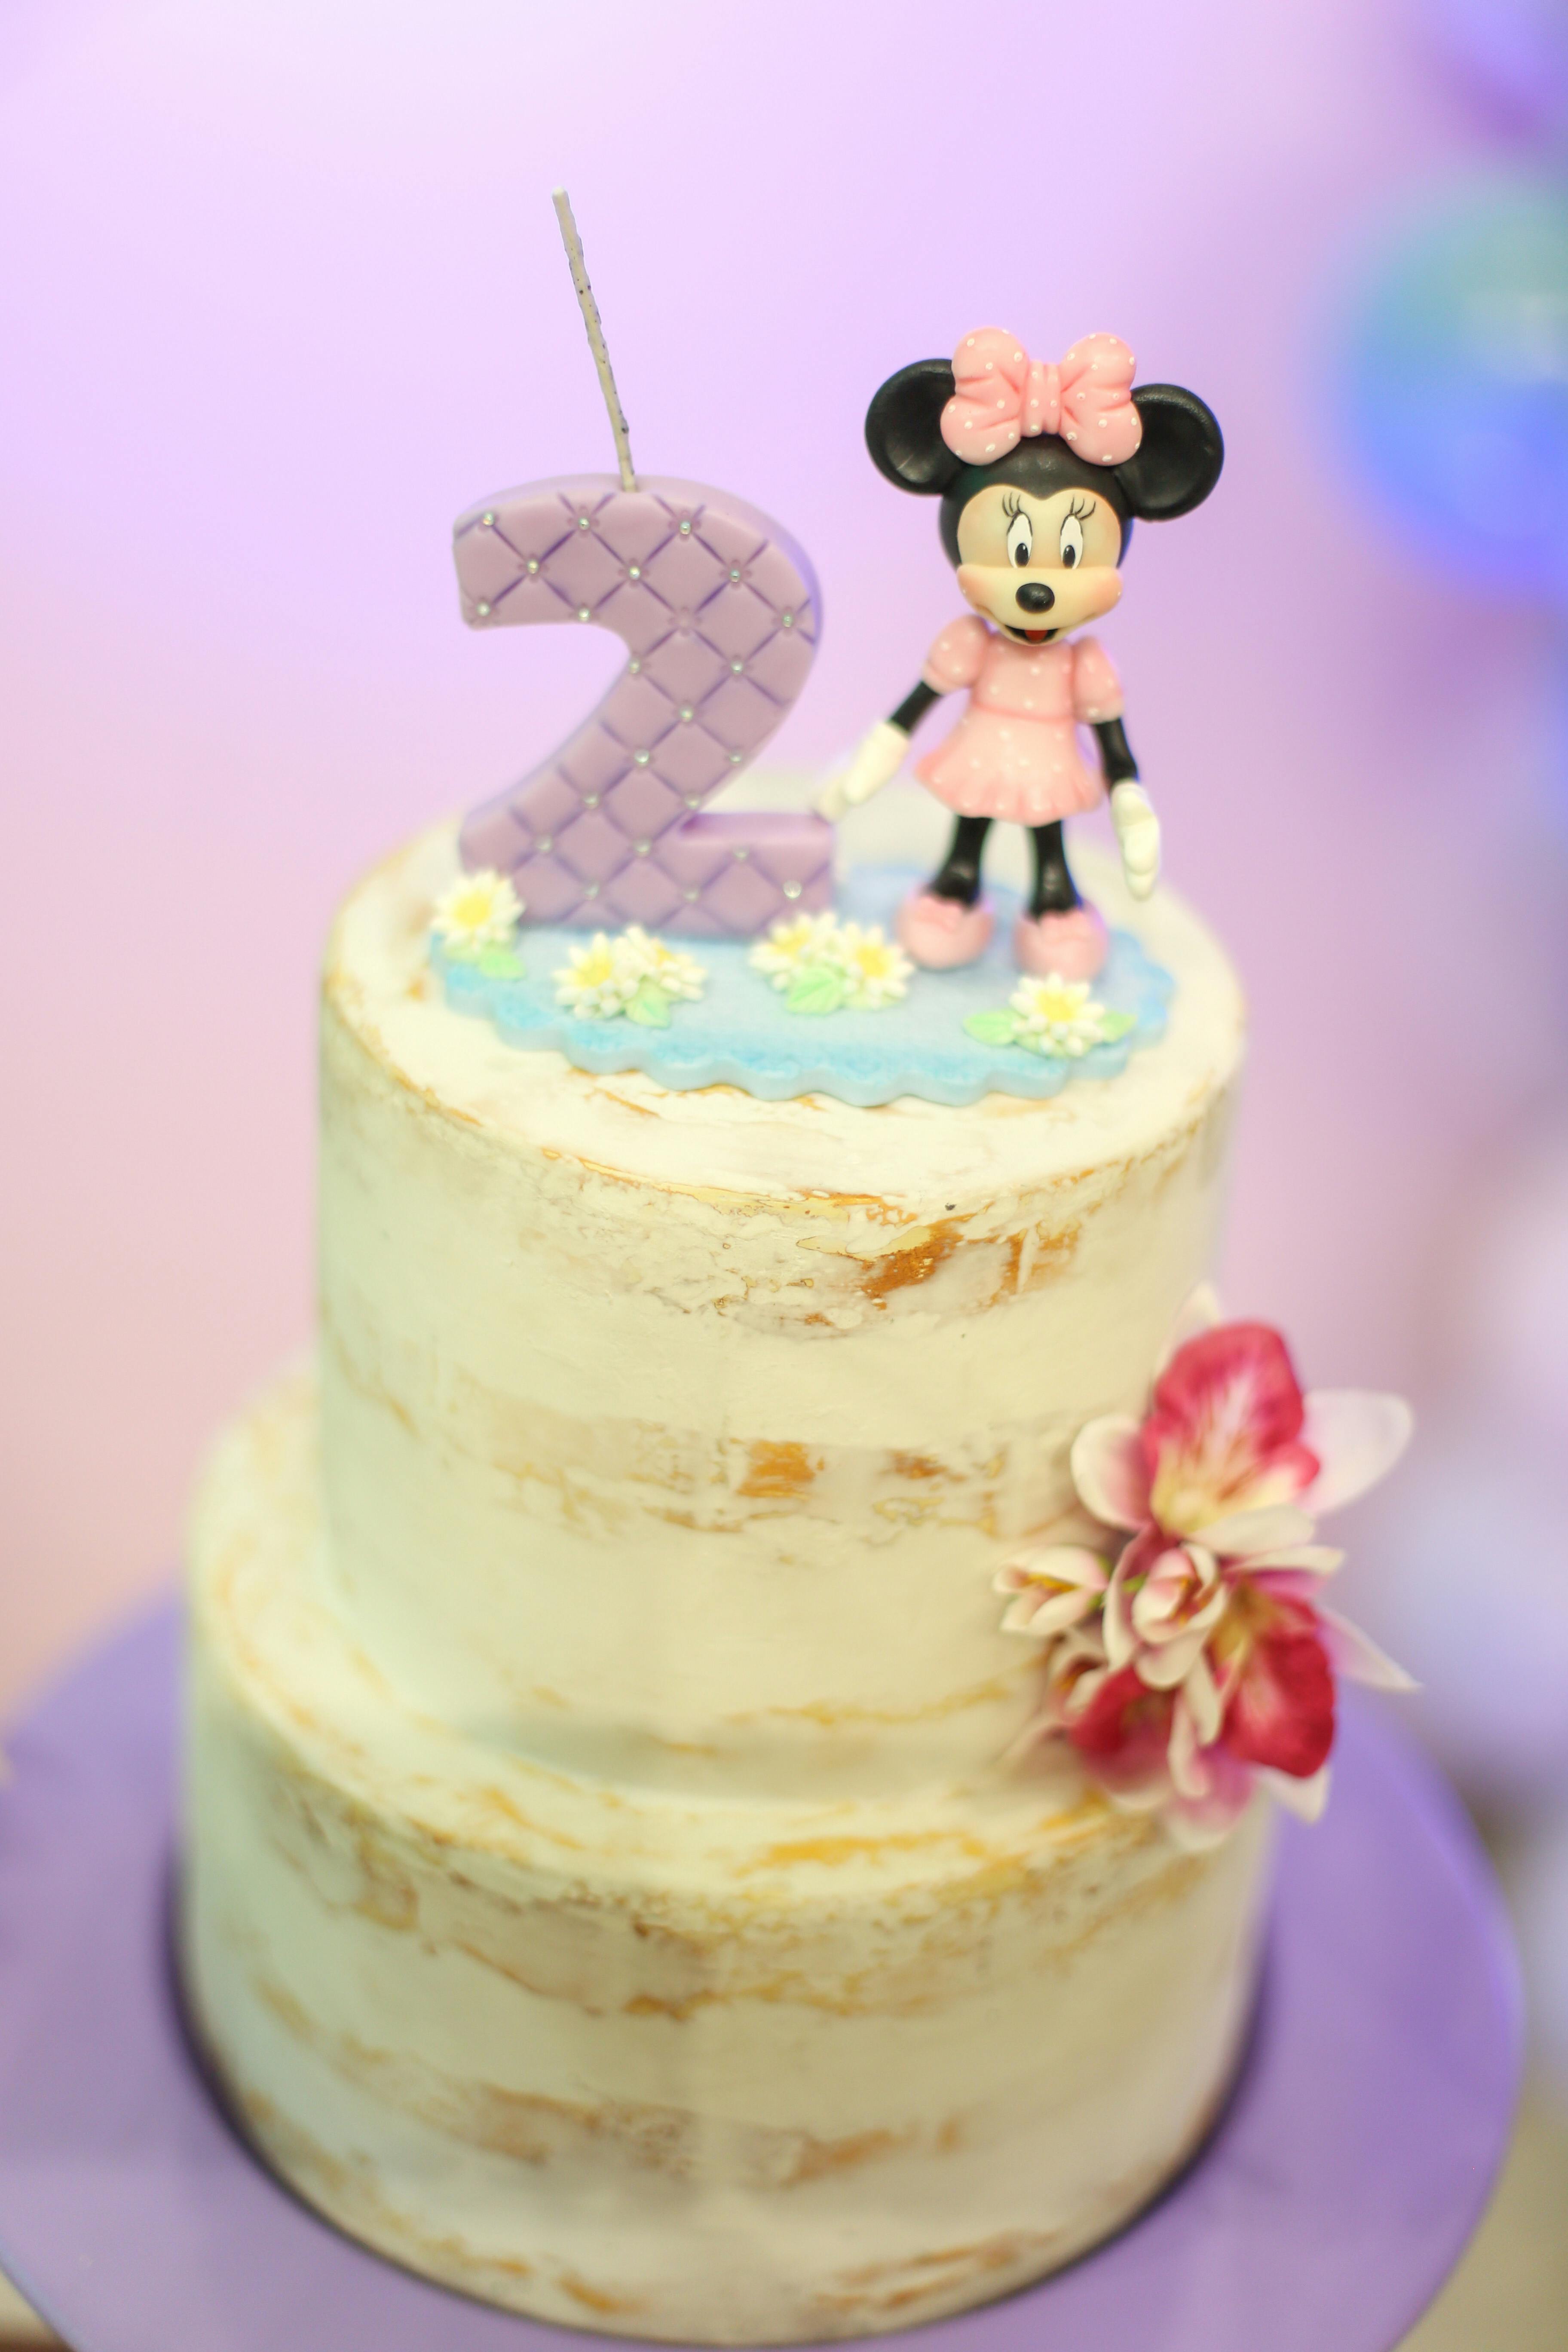
Introduction to Minnie Mouse Cake
Minnie Mouse cakes are a delightful addition to any celebration, especially for fans of the iconic Disney character. Whether it’s a birthday party or a themed event, creating a Minnie Mouse cake can bring joy to both children and adults alike. In this guide, we’ll walk you through the process of making the perfect Minnie Mouse cake from scratch.
Gathering Ingredients and Tools
Ingredients
Before you begin, ensure you have the following ingredients:
- Cake mix or ingredients for homemade cake batter
- Fondant (black, white, and pink)
- Buttercream frosting
- Food coloring (optional)
- Edible glitter or sprinkles (optional)
Tools
You’ll also need:
- Cake pans
- Mixing bowls
- Spatula
- Rolling pin
- Cookie cutters (for fondant shapes)
- Piping bags and tips
- Cake stand or turntable
Preparing the Cake Batter
Mixing the Ingredients
Start by following the instructions on your cake mix box or preparing your homemade cake batter. Mix the ingredients thoroughly until you achieve a smooth consistency.
Baking the Cake Layers
Divide the batter evenly between your cake pans and bake according to the instructions. Once baked, allow the cake layers to cool completely before moving on to the next step.
Creating Minnie Mouse Decorations

Making Fondant Ears
Take a portion of black fondant and roll it out to a thin layer. Use a round cutter to create the ears. Let them dry for a few hours or until firm.
Shaping Fondant Bow
For Minnie’s signature bow, roll out pink fondant and cut out two bow shapes. Pinch the center to create the bow shape and let it dry alongside the ears.
Assembling the Cake
Layering the Cake
Place one cake layer on your cake stand or turntable and spread a layer of buttercream frosting on top. Continue layering until all cake layers are stacked.
Frosting the Cake
Cover the entire cake with a thin layer of buttercream frosting to create a smooth base for the fondant decorations.
Decorating the Cake
Placing Minnie Mouse Decorations
Carefully place the fondant ears on the top of the cake and position the bow in the center. Use additional frosting to secure them in place.
Adding Final Touches
Get creative with edible glitter, sprinkles, or additional fondant decorations to personalize your Minnie Mouse cake. Consider adding her iconic polka dots or a fondant silhouette of Minnie herself.
Conclusion
Creating a perfect Minnie Mouse cake requires patience, creativity, and attention to detail. With this step-by-step guide, you can bring the magic of Disney to life in your own kitchen and delight your guests with a delicious and adorable dessert.
If you want to watch that How to Make the Perfect Minnie Mouse Cake… You can click on video below and watch !
FAQs
- Can I use a different cake flavor for my Minnie Mouse cake? Absolutely! Feel free to use any cake flavor you prefer, whether it’s chocolate, vanilla, or strawberry.
- Do I have to make my own fondant for the decorations? You can either make your own fondant or purchase pre-made fondant from baking supply stores. It’s entirely up to you.
- How far in advance can I make the fondant decorations? You can make the fondant decorations several days in advance. Just be sure to store them in an airtight container to keep them fresh.
- Can I use whipped cream instead of buttercream frosting? While whipped cream can be used, buttercream frosting is recommended for its stability and ability to hold the fondant decorations firmly in place.
- Can I freeze the decorated cake? It’s best to freeze the cake layers before decorating them. Once decorated, store the cake in the refrigerator and consume within a few days for the best taste and texture.


